This Catit Style Blow Molded Scratcher, Hourglass was my inspiration for a DIY vase scratching post. It is hollow and branches or flowers can be put inside.
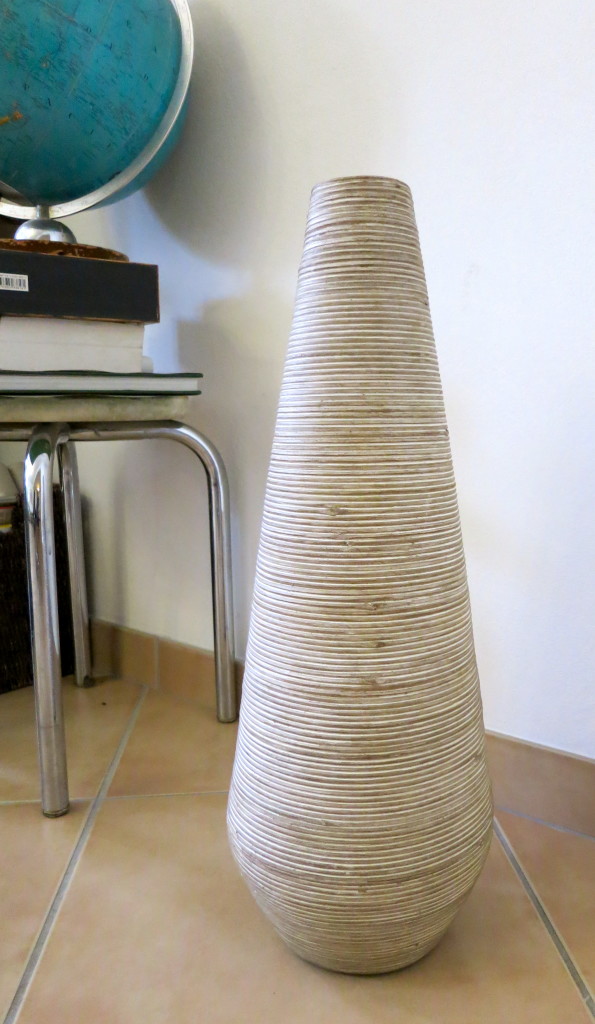
I bought this ceramic vase at a thrift shop for $5. You could use any size or shape you like, but the heavier and sturdier the better, avoid glass.
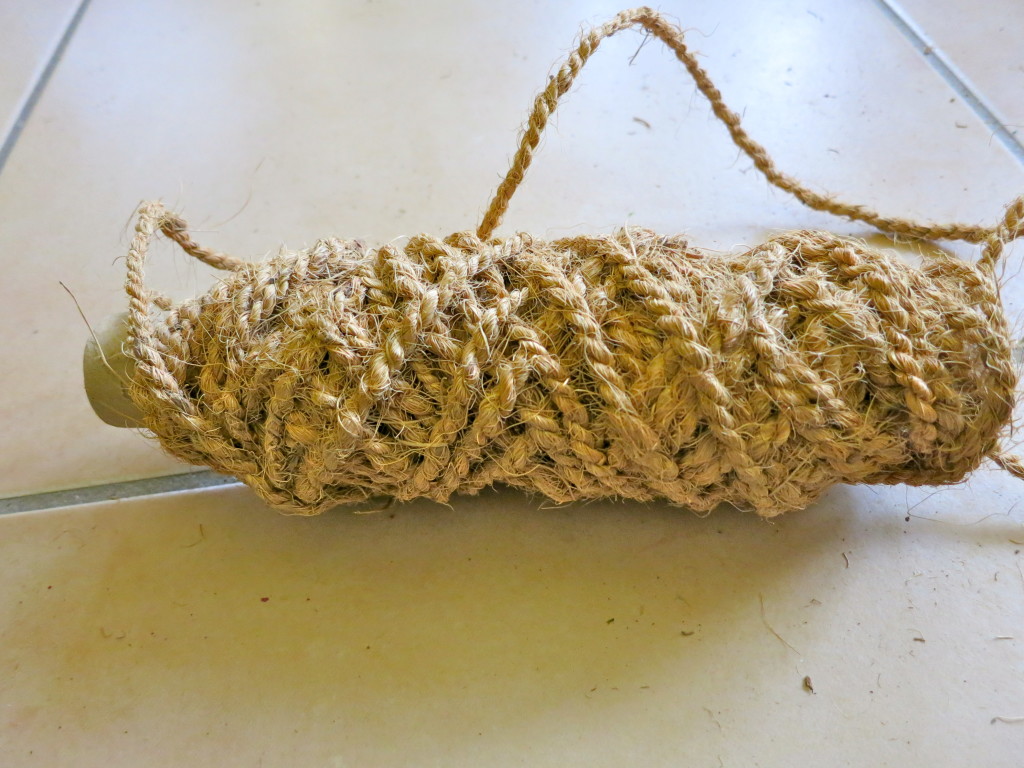
I used Sisal Rope that you can buy from amazon, pet stores or from a home and garden store.
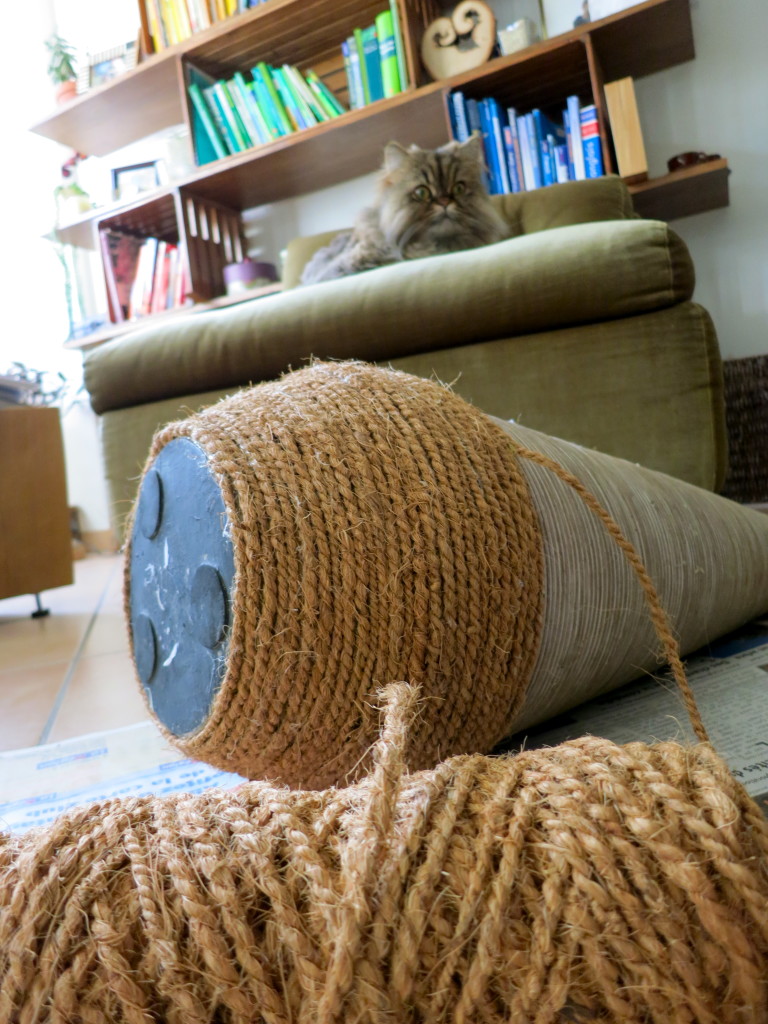
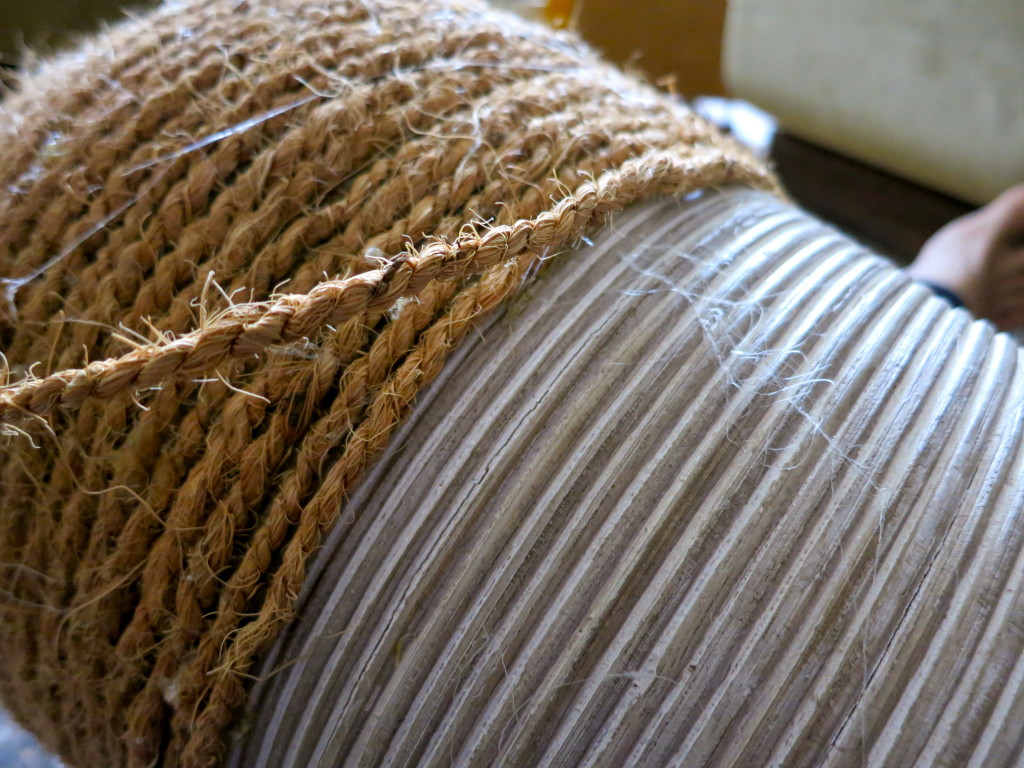
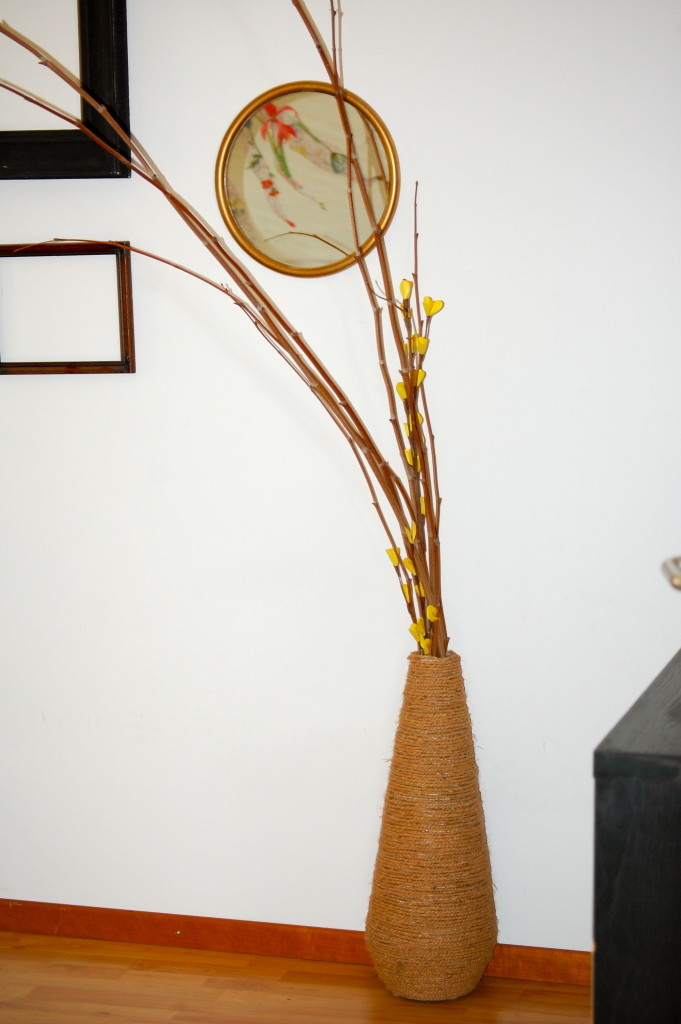
Beginning at the base I used a hot glue gun to wrap the rope around the vase as tightly and evenly as possible. It will not be perfect but that’s okay. I used a kitchen knife to help push the rope into the glue without burning my fingers.
Because it’s a scratching post the most important consideration is how sturdy the structure is. If it falls over while your cat scratches he will not want to use it again. I filled the bottom 1/3 of the vase with rocks and broken ceramic pot pieces to weight it down. If yours is really un-sturdy you may need to make a bottom structure that you glue or screw it into, similar to the CATit scratcher pictured above.
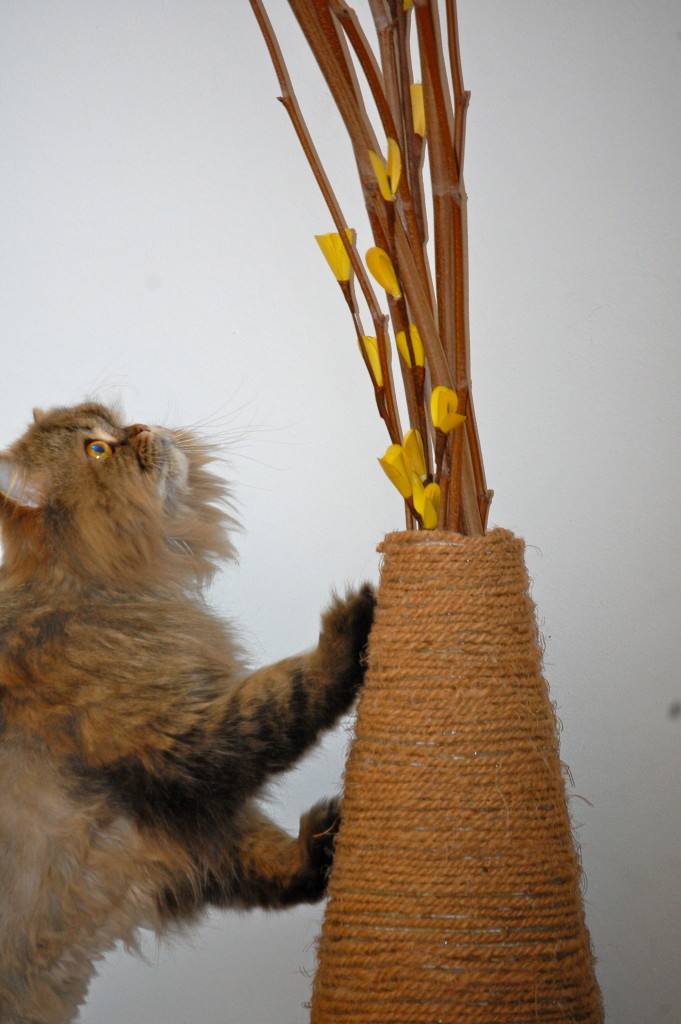
I put some tree branches and some IKEA fake flowers. Cornelius loves those yellow flowers and it encourages him to play.
Cats need to scratch, it is a vital biological need. Providing them a variety of scratching posts is the best prevention for unwanted scratching of your furniture. Be creative, scratching posts do not need to be an eyesore in your home.
UPDATE:
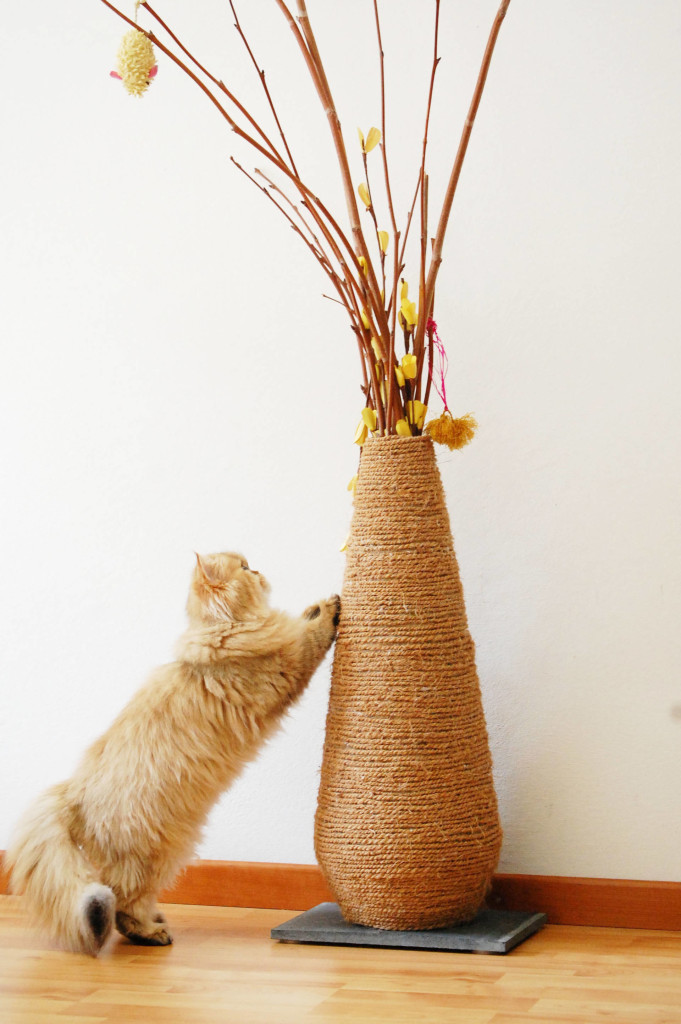
Many readers were asking if this would fall over. At first it didn’t. The weight and rocks inside the vase kept it up. However when we brought home a new kitten she started trying to climb up to the branches and knocked it over.
Immediately I found a solution because I didn’t want the cats to be afraid to use it. I used a kitchen Slate board
that I had and didn’t want anymore, but a ceramic tile would work perfect as well. I just hotglued the bottom to the slate. And it hasn’t moved since.
Have you recreated this project? I’d love to see! Please share your photo on Instagram #meowlifestyle
Click here to see more cat DIY projects!
Originally published April 19th 2015. Updated September 19th 2015

I made this after finding it on Pinterest! It was pretty easy, but took a long time because I only had a mini glue gun and I had to basically push the glue through it the entire time to get it to come out. It took me 3 or 4 hours total.
I used 100 ft of 1/4 inch sisal rope plus 50 ft of 3/8 in. rope. I didn’t mean to use both, just forgot what size I bought the first time when I went to buy more supplies. I like the look of the 3/8 in better and it would have made my whole project go more quickly if I’d have used that size throughout, but oh well. I also used like 48 small glue sticks in my hot glue gun. I was stoked that I was able to buy all the crafting supplies at my local hardware store- nothing too specialty.
I filled it with garden rocks for sturdiness, and then wrapped the rope across the top so that my cat could stand on it. She is about 8 lbs and we have not problems with tipping.
Total cost: $5 vase at Goodwill, $15 for rope, $5 for glue gun (new purchase), $10 for glue sticks, $5 for garden rocks = $40
Thank you for the tutorial!
Author
Excellent! I’d love to see it, could you tag me on Instagram? A full size hot glue gun is my most used and favorite tool, it can be used for so many things. That’s great she can stand on it. Thanks for reading and commenting! :-)
How much sisal rope did you use?
Author
It depends on the size of your vase. I used just under one package or spool of sisal rope. I’m sorry I don’t remember how much it was.
Great idea! I hate ugly cat furniture and especially the carpeted scratching posts. Found tons of tall bamboo, plastic, and ceramic vases of all kinds at Home Goods for very reasonable prices (about 20 bucks). Used a thicker and lighter sisal rope and a LOT of hot glue, and it now looks awesome. Starting out glued to a garden tile, but our cat is big – will see how it goes. Plan B is a piece of heavy particle board and recessed bolts screwed into our bamboo vase.
Author
Excellent I’m happy it worked for you! I’d love to see a picture. Yes it takes a lot of hot glue. Hot glue is useful for so many things. Thanks for commenting :-)
I love this! I find cat scratchers to be an eye soar and take up room in my limited space, but this is beautiful. Great idea! ~RascalandRocco
This is so beautiful Jenna!!! I’m going to put this project on my to-do list. We are remodeling our office right now and once we have things in place we’ll be looking to make the office kitty-friendly without adding clutter or eye sores. This could work great.
Author
I would recommend looking in the garden section for a big sturdy vase. Mine is an outdoor planter so it is very heavy. I’d love to see a photo of you do it :-)
What a cool idea! We’re surprised that the narrow bottom doesn’t allow it to topple, but it sounds like you have made it work. We’ll keep this idea in mind!
What a neat idea!
That is such an adorable and creative idea for a scratching post!
Wow. Ever neat!
Purrs,
Nissy
It looks great but how does it stay upright?
Author
It is very heavy and filled with rocks, at first I thought I would need to attach a base to the bottom, but its not needed for this one. Lighter ones would need a vase.
We love it ! Your house is made for Cornelius, but in such a stylish way ! Our scratchers just look like…. cat furniture ! Purrs
Author
But your home is gorgeous, and your cats have a beautiful outdoor space, very lucky :-)
That came out great- I am impressed :) I always burn myself with the glue gun.
That’s really cool. We love taller scratchers so we wonder whether this would work for us. We would need to find a really tall vase.