
My love for DIY projects is real. A DIY project that makes my home beautiful and my cats happy, is the perfecta of DIY projects. Read more to see how I made this DIY yarn ball cat cave.

Materials:
- beach ball or x-large balloon
- yarn, string, cord or sisal rope
- universal white glue
- corn starch
- water
- bowl for mixing glue mixture
Mixture:
I mixed about 2 parts glue with 1 part water and a few spoons of corn starch which will make a gooey pancake batter consistency. I needed more glue than shown in the photo. I used about two and half bottles. How much you need depends on how big your ball is as well as how much string you will use.

I couldn’t find a balloon big enough so I used an inflatable beach ball. I used The Cat Ball as a size reference but as you can see it is still smaller. Draw a circle around the area you want to keep open for the entrance.
I set the ball on the top of a mixing jar. It wasn’t the easiest to balance and fell off a couple of times but I managed. An easier option would be to tie the ball and hang it from your shower rod. I applied a very thin layer of Vaseline around the ball to help prevent the string to stick to the ball. I concentrated the Vaseline around the seams of the ball.


Originally, I wanted to only use white yarn. But my yarn was very thin so I decided to use sisal cord to make it thicker. I did the first few layers with the sisal cord and then finished it with yarn. I used about 1/3 sisal and 2/3 yarn.
I tried a few different methods of applying the glue and rope. I found it easiest to completely dip the yarn in the glue mixture then ring it out a little. Then I wrapped and wrapped the string around the ball. I no particular pattern or order. I just tried to cover as much area as I could and made it as even as possible.
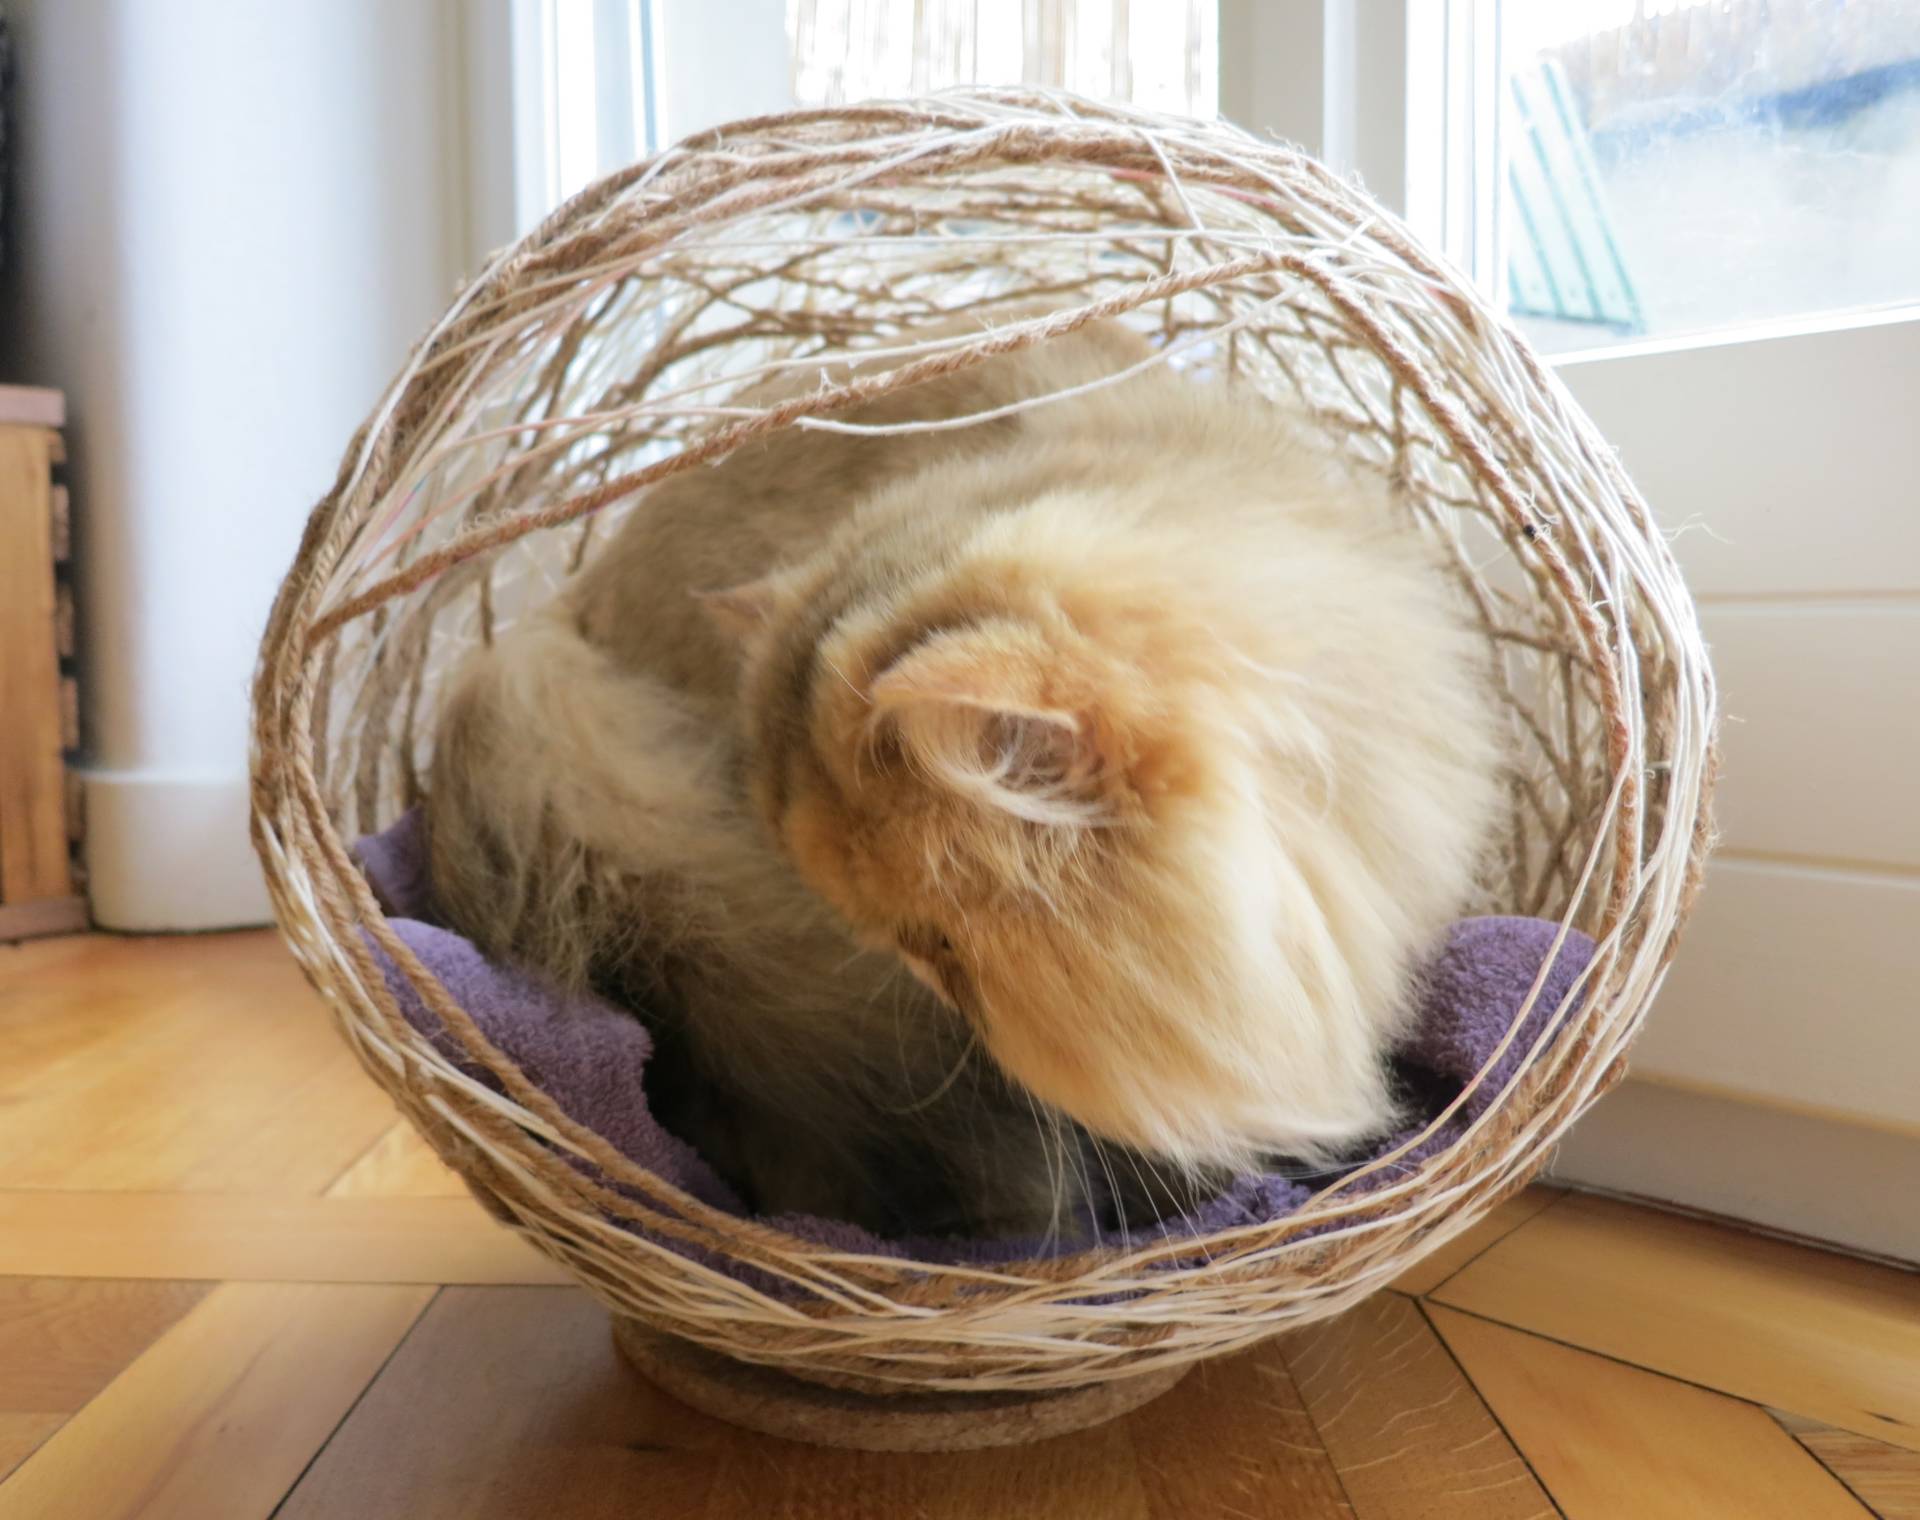
This is a messy project and you will be covered in glue. But it is all washable so no damage done. Let it dry for at least 24 hours. Once dry, I deflated the ball and was able to slip it out in once piece through the hole. I put an old towel inside for a cushion and I hot-glued the bottom to a cork kitchen hot mat from Ikea to make it stable so it won’t roll away. Alternatively you could put it on a towel or cushion to make it stable.

Lessons Learned:
- Some colored transferred from the ball to the white yarn, but not to the rope
- Do not skimp on the glue, the more the better
- Using a thicker rope will help require less and will make it stronger
- I would have used an even larger ball
Conclusion:
I love the way it looks. I admit I may love it more than my cats. Elizabeth is little and I can catch her sleeping inside every now and then. Cornelius is quiet a bit larger and I’ve never caught him inside. They both definitely prefer the Cat Ball more because of its softness and flexibility. But its beautiful, unique and handmade and looks great in my home. This project can be recreated in different shapes and for different purposes such as to make a hanging lantern.
If you make one tag me on Instagram. Want more DIY cat projects? Check out my other DIY cat projects here.
Great job! I want to make one now.
Author
Let me know if you do. I love making DIYs for my cats. :-)